Jenny Chang / BuzzFeed
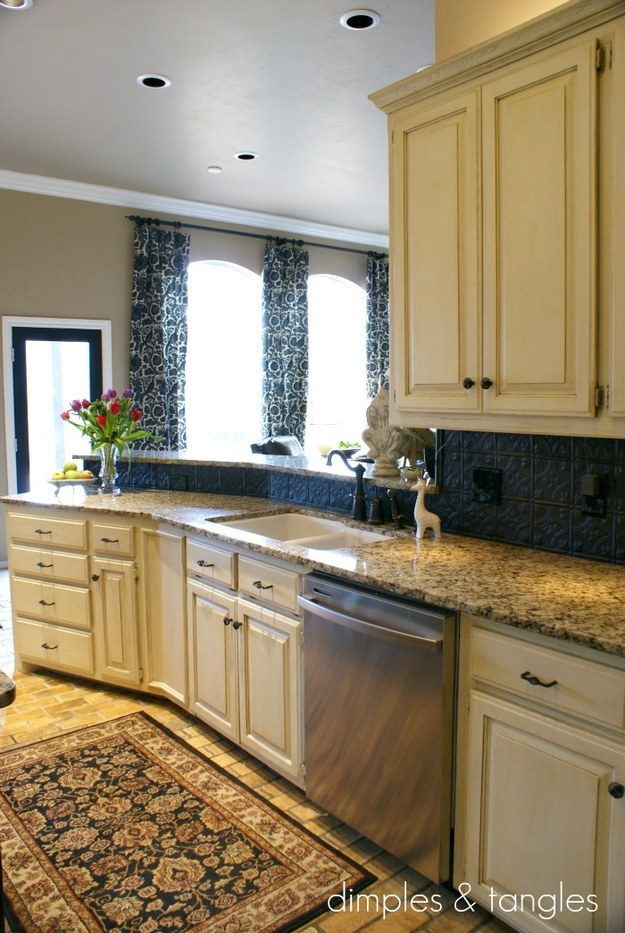
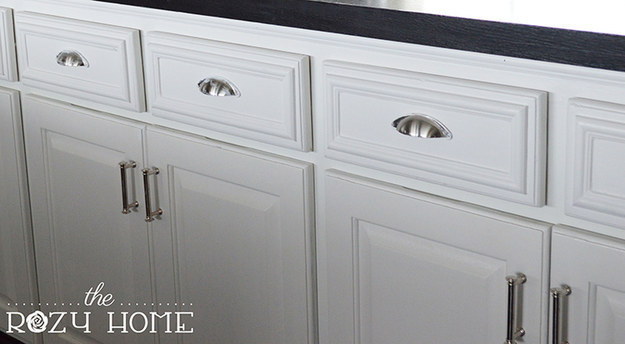
1. Paint or swap out your cabinet knobs and drawer pulls.
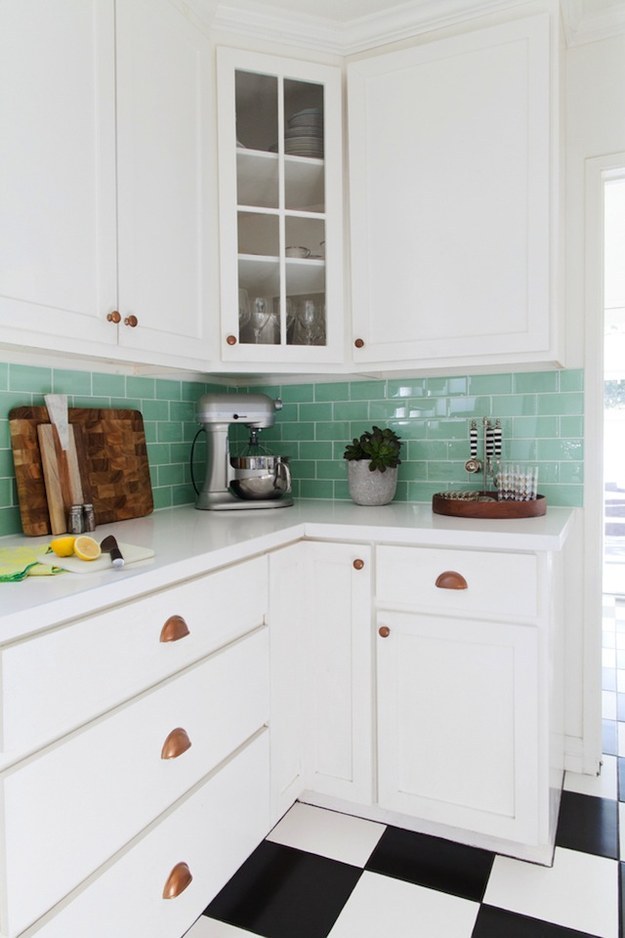
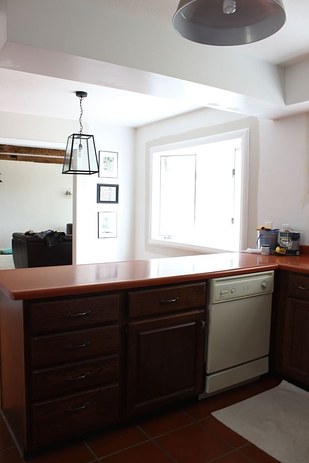
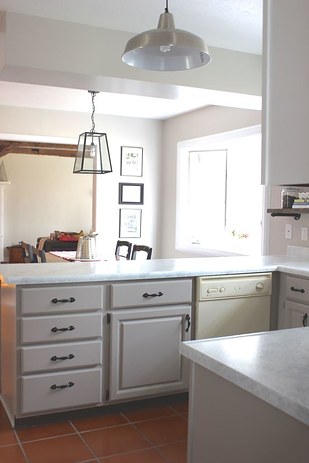
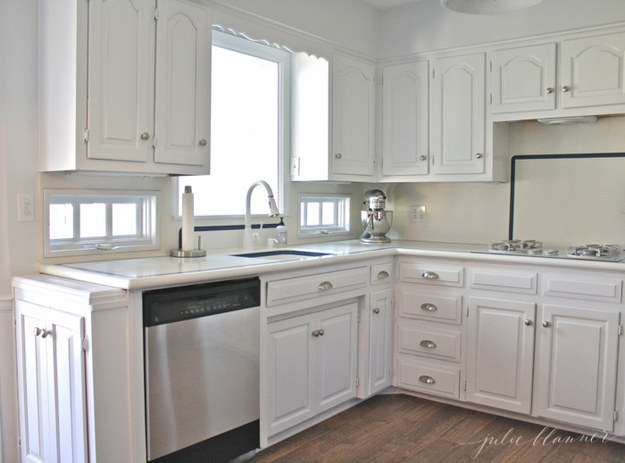
In this gorgeous before and after, they also updated the backsplash. But the painted knobs really make the kitchen seem ~finished~.
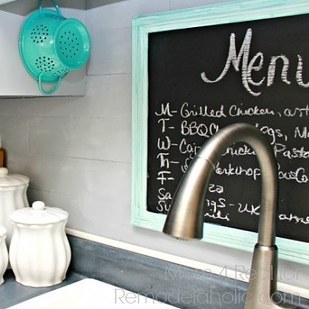
3. Use a roll of chalkboard paper to make a custom measuring chart.
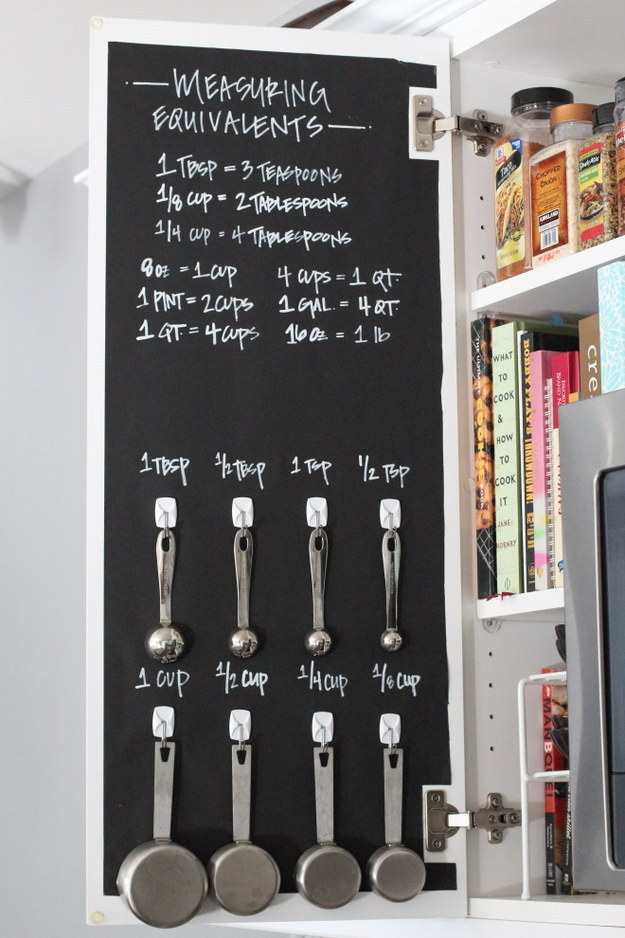
Or if you’re not a baker, you can hang a piece of chalk inside instead, and use it for list making, or just noting when you’re supposed to take the garbage out. Get the how-to here.
5. You could even re-do your backsplash with floor tiles.
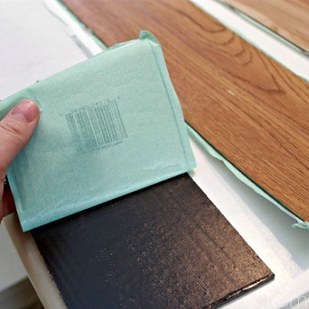
These are also peel and stick! Once they’re on, you can paint them whatever color your like. See the tutorial here.

If plastic or peel and stick isn’t really your thing, you could always paint your backsplash with a cool pattern.

See the step by step for this herringbone pattern here.
8. Upgrade boring cabinets with quick molding and a new stain.

You can do this in an afternoon. Get the how-to here.
9. Or add a row of trim to all of your drawers.
It’s a bit more time-consuming, but totally doable. And worth it! Get the tutorial here.
10. You could also opt for the super-simple JAF (Just Add Finials).
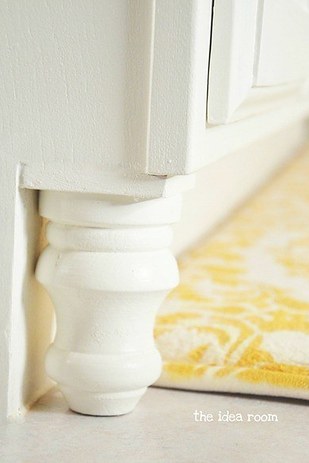
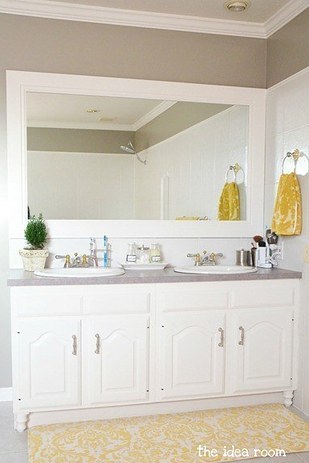
They did this in their bathroom, but it would work equally well in the kitchen! See the how-to here.
11. Use a DIY countertop kit to re-do old counters.
Not super cheap, but wayyyy cheaper than replacing your entire countertop. See how they did it here.
12. Or apply a thin layer of concrete to the countertops you already have.

14. Nudge two kitchen carts together for a brand-new counter, instantly.
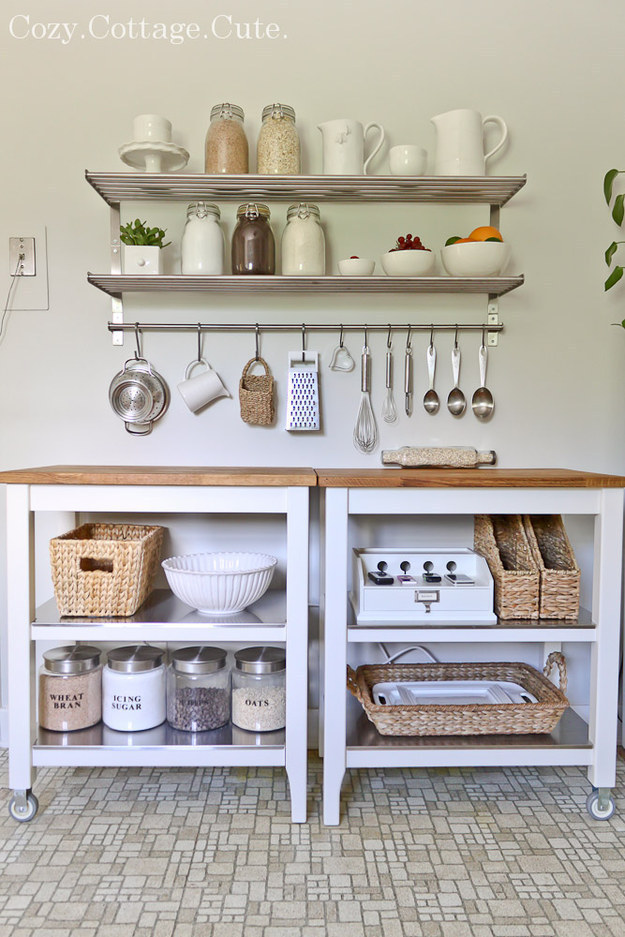
And more storage underneath! Read more here.
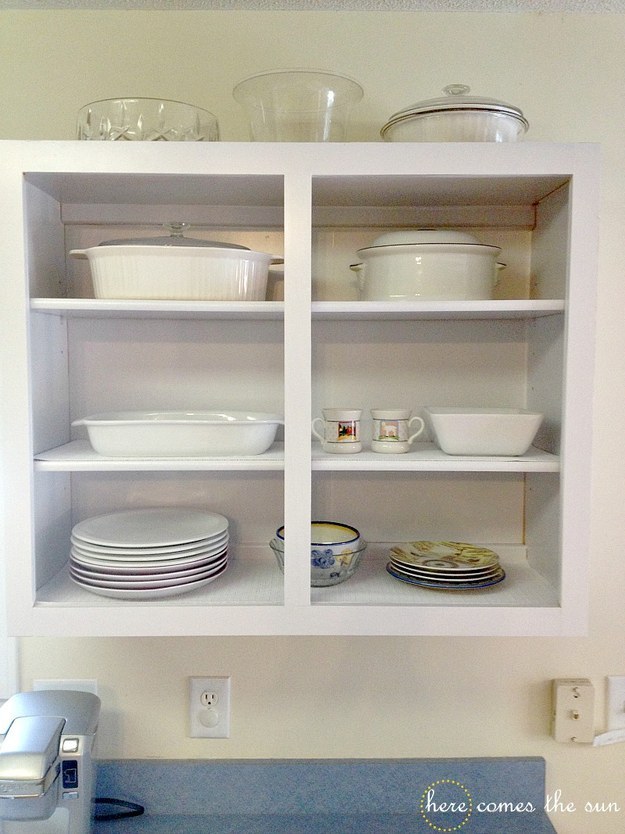
15. If you want more storage without having to sacrifice floor space, turn an old door into an easy-access kitchen organizer.

This would also work with pegboard (although you might want to mount that on the wall). See how they made this door here.
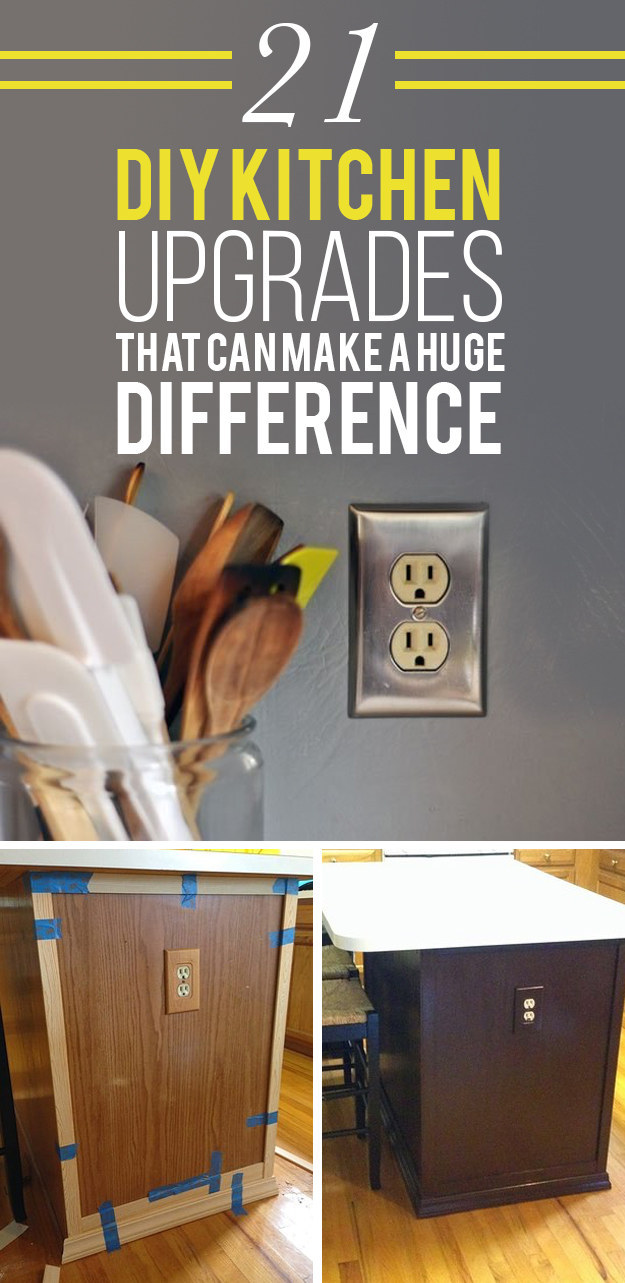
16. Cover your outdated appliances with a sheet of stainless steel contact paper.
It only costs about $5, and you can do it in about an hour! Get the how-to here.
17. If you can’t paint your cabinets, a layer of removable contact paper can do wonders for them, too.
See how to do it neatly here.
18. Then you can line your doorless cabinets with fabric for a gorgeous focal point.
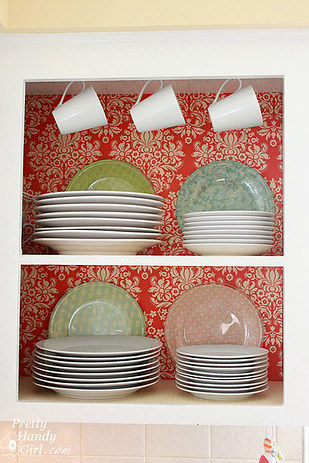
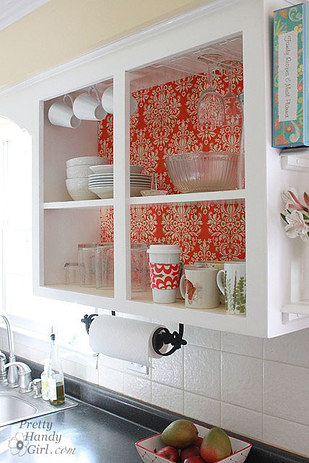
To make this super easy, you actually cover pieces of foam board with the fabric, then put that in the back of your cabinets. See the full tutorial here.
19. You can also use this technique to make an accent wall. (This is covered with tempered glass to protect it from the stove’s flames.)

The fabric’s stapled to plywood, slipped behind the fan, then covered with the glass. Get the how-to here.
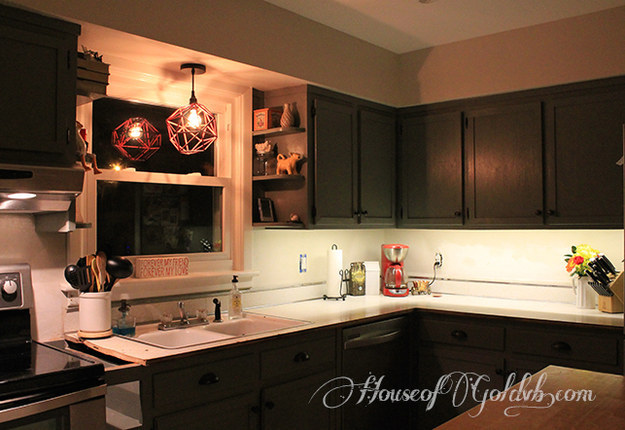
20. Then install plug-in under-cabinet lighting to ~illuminate~ your fancy new kitchen.
0 comments:
Post a Comment